Velaryon Family/Monterys/Battles for the Farrowlands
Contents
Intro
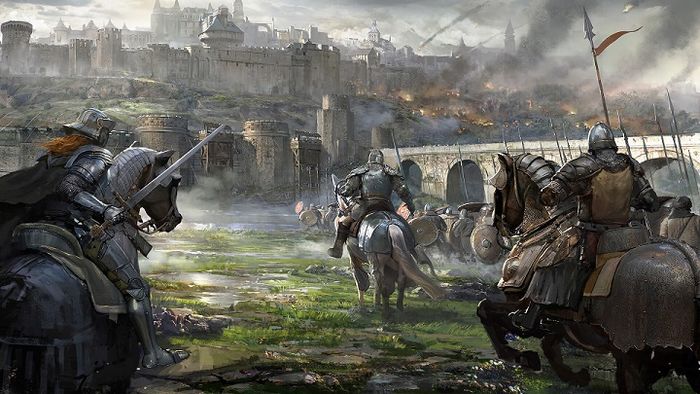
Part of the Gold Sea Conflict. The battles for the Farrowlands were a series of clashes in the area of Golden Farrow and Farrowfield between Tol Goldora as defenders on one side and Westgard and the D'Haran Kingdom as attackers on the other. Two sieges marked the pinnacle moments when the attackers overcame the walls of Farrowfield, routed the defenders and claimed the Farrowlands. In the penultimate battle, known as the First siege of Farrowfield, Tol Goldora won the day but with grave losses, which created an aperture in their defenses. In the last battle, known as the Second siege of Farrowfield, the allied forces of Westgard and D'Haran Kingdom prevailed and claimed the Farrowlands.
Commanders
Goldoran forces rallied behind the banner of the Golden Host under the command of Stratarch Medrawt Camlann. Lord Archon Gheric Arylon and Supreme Exarch Marius Kinsey ka Haab assumed command of Westgard's Lightbearers. Lord General Monterys Velaryon commanded the D'Haran legions which were comprised of two armies - Madinan Sun, marshaled by Margravine Prudence Cavendish of Paisland, and Sea Dragons, marshaled by the Lord General.
Strategic approach
Whence Tol Goldora breached the walls of Golden Farrow in their pursue for the claim over their birth city, the allied swords of Westgard and D'Haran Kingdom rallied their strength and amassed two large fleets that were send to Golden Farrow's aid. Upon the arrival of the fleets Tol Goldora retreated to Farrowfield seeking to gain upper hand in numbers and defenses. Farrowfield hosted one of the strongest of garrisons in all of Dwilight, stacked behind high walls, but the attacking forces marched nevertheless and managed to claim victory in two consecutive sieges, despite being outnumbered in overall strength and crucial soldiery. Tol Goldora quickly arranged for an alliance with Luria Nova as a way to even the odds, but the Lurian Fleet didn't manage to arrive in time to splinter the attacking force.
Tactical approach
The defenders gathered a seemingly impregnable host of footmen, heavy infantry of highest quality and training. The attackers brought overwhelming numbers of ranged troops, hoping for a clear day with no winds. In order to compensate the inferior infantry numbers, the attackers aligned their footmen in box formation, hoping to prolong the melee as long as possible and buy time for their ranged troops to unleash their deadly volleys. The mistake of the defenders that forced eventual victory into the hands of the attackers was the fact that majority of defending knights decided to sally forth and clash before the walls, resulting in easy pickings for attacking side.
Aftermath
The striking victory allowed the attackers to mount the takeover of Farrowfield, granting them a gargantuan strategic gain. Both sides were badly damaged, but the attacker's victory in Farrowlands resounded far and wide and caused immediate peace negotiations between Tol Goldora and Westgard.
